Thursday, November 17, 2011

How to Create a Quilted Pattern

Hi Everyone!  I'm back with another video tutorial.  This time I am demonstrating my technique for creating a quilted effect on cake.  I've used this technique on several cakes now!  I remember back to when I first had to do it.... I was confused and intimidated and only found hints of instruction, certainly no video tutorials!  So, I figured I would show you all this basic decorating technique, it really is a beautiful effect.
If you look in to "how to create the quilted pattern" you will find some of the more popular or common ways to do it are to use a "Diamond Quilting Tool" (they come in a couple of other shapes as well), this tool looks just like a gumpaste cutter, it's 3 equal sized diamonds, one on top of the other.  Another common tool you can find is a "Diamond Impression Mat" it's a clear mat with raised lines that create a diamond pattern when you press it onto your fondant.

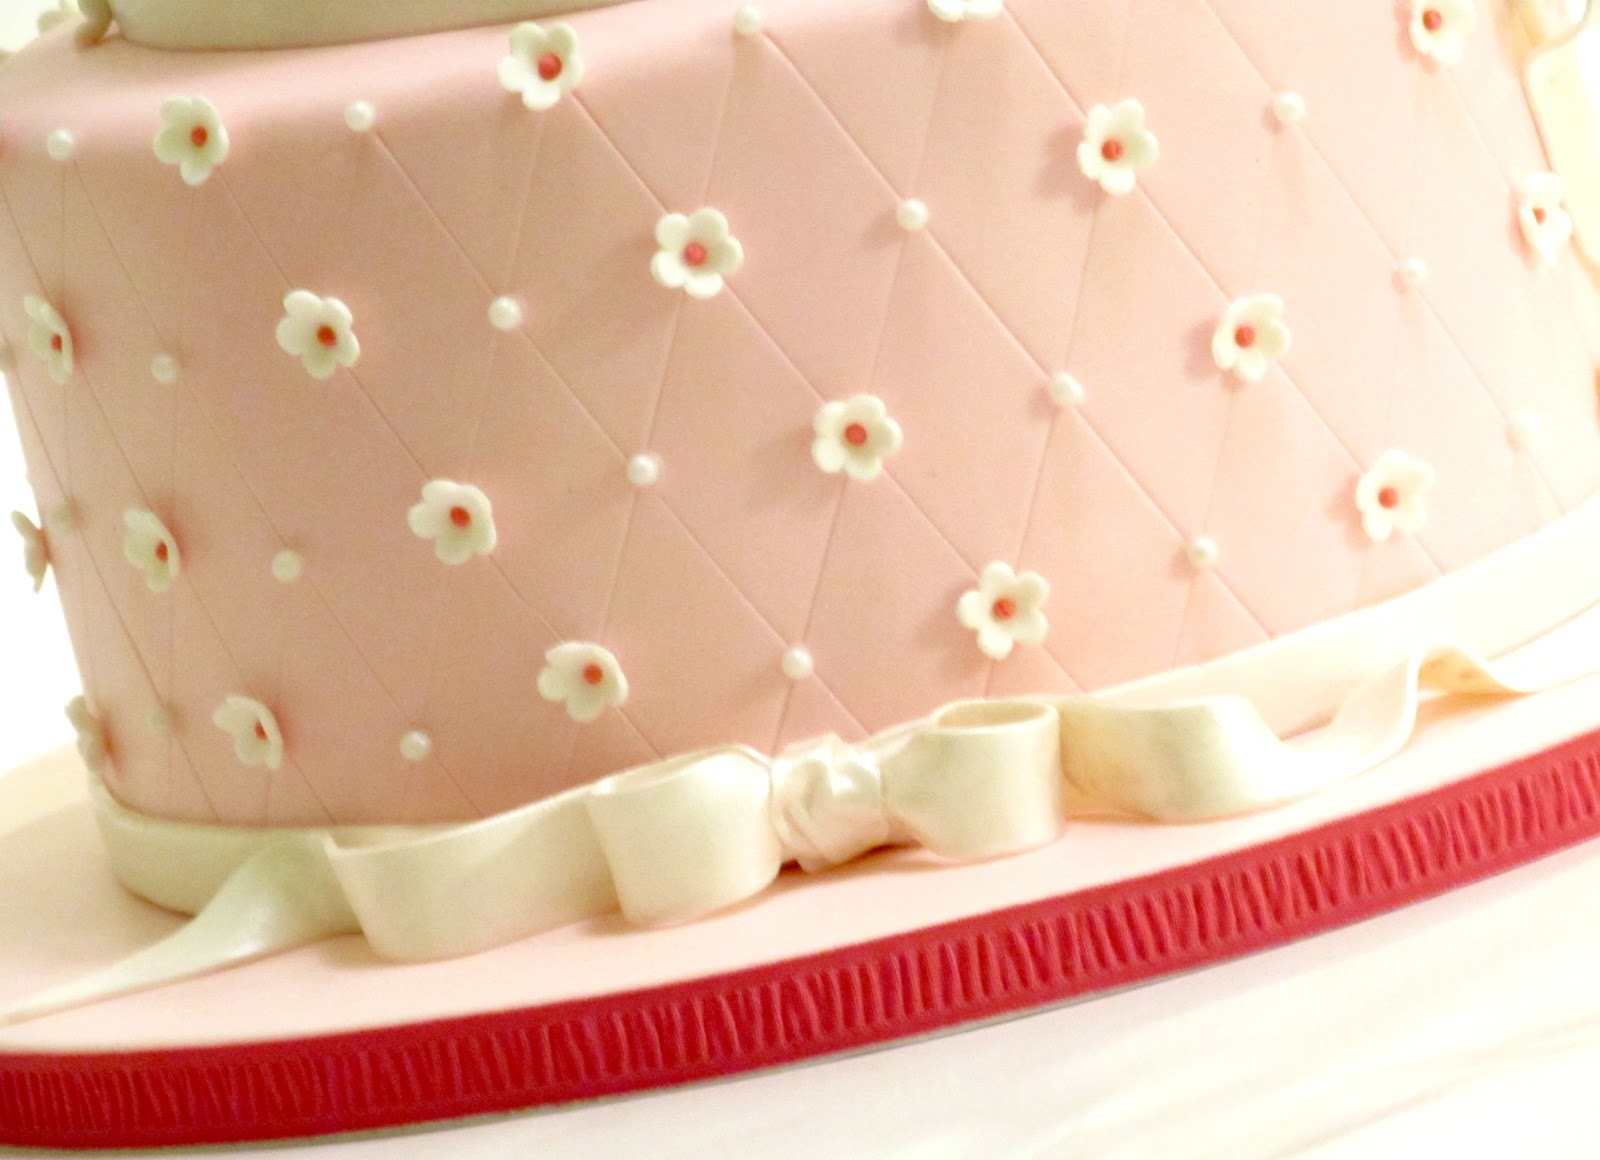
Both of those tools work, and you can create a really beautiful cake with them.  I'm not knocking them... but I don't own them, and don't see myself making the purchase.  For a couple of reasons... One, you are limited to the size and shape of your quilting, each tool only makes one... And with the impression mat, the pattern distorts slightly when you stretch your fondant over your cake...  With my method, you use the same simple tools to create virtually any size/shape (square or diamond) that you want.

My method does not require special tools (like a quilting tool or impression mat)!  You can create this effect with items you probably have already at home. 

All you need:
  • flexible cardboard (like a file folder or even a cereal box)
  • ruler
  • toothpick
  • stitching tool, wheel cutter, veiner or the back edge of a knife (something to gently emboss a line)
    • Click here to see the PME tool I use (it is widely available at cake supply retailers)
So, without further adieu, here is my video demonstrating the technique:


 A few tips:
  • It is best to get started immediately after you cover your cake with fondant, when the surface is still soft and flexible, you don't want the fondant to crack, tear or cut all the way through
  • Use paper to play with different angles and spacing, you can use whatever combo will give you the exact results you want!
  • If you want a "puffier" look, let you icing (under the fondant) soften a bit and you can use a little more pressure without cutting through your fondant
 I hope you find this helpful!

Happy Caking :)

Thursday, November 3, 2011

How to Ice & Smooth a Cake with Swiss Meringue Buttercream

Hi everyone!  I've got another tutorial :)  This is another request I've gotten a few times, how do I smooth my buttercream.  There are loads of tutorials and instructions for smoothing American Buttercream, with the "Viva Paper Towel" method probably the most common... that's the method I use when I have to use American Buttercream.  But, as much as I researched when I started working with Swiss Meringue Buttercream (SMBC), I haven't seen many demonstrations on smoothing it... so I thought I would make a video showing my technique. 

One of the most common techniques you will read about is the "Hot Knife" method.  The idea is you dip a spatula in hot water and dry it off.  The heat from the spatula melts the butter in your buttercream and leaves a smooth surface.  It works, that is the technique I used when I started... However, if you are not covering your cake with fondant you will see the discolored streaky-ness this method creates.  Which is why, you will also read a lot of complaints about this method.

Another method, that I've found intriguing, but have not tried is called the "Upside Down" method.  With this technique you spread an even layer of buttercream on a piece of parchment, then place your cake upside down on the parchment and ice the sides as usual and after you smooth the sides, invert the cake, you are left with sharp corners and a smooth surface....  I just don't have a lot of trouble getting the sharp corners and it seems like a few extra steps...

So, the way I smooth my cakes, is to simply scrape the cold and hardened buttercream with my offset spatula and bench scraper.  Kind of just "shaving" off the imperfections, I do not use a hot knife, spatula or bench scraper.  By working quickly and keeping the cake cold you can avoid any discoloration!  Plus, you get the same, or better, results without the few extra, unnecessary steps.  While I am using SMBC, this method should also work with any non-crusting, butter based buttercream, as long as it sets hard in the fridge.

So, here is a demonstration of how I ice and smooth my cakes! 


I hope you find it helpful :)  You can find the Swiss Meringue Buttercream recipe that I use here.

Happy Caking :)